Access the Signature Settings on Mac
If you’re on your Mac, open the Mail app and then follow these simple steps to set up your signatures.
Click Mail from the menu bar and select Preferences.
Choose Signatures in the pop-up window.
Select the account where you want to create the signature and click the plus button on the bottom.
In the center, give your signature a name.
On the right, create your signature.
Beneath the signature box, optionally select the option to Always match my default message font if you like.
Next to Choose Signature, you can pick from None, At Random, or In Sequential Order. This choice would apply if you create more than one signature for that single account. Otherwise, the signature name that you just created will populate that box when you’re done.
At the very bottom, mark the check box for Place signature above quoted text if you want that to apply.

And that’s it! Now, when you compose, reply to, or forward an email from that account, that signature will be inserted for you.
Follow the same Steps 3 through 8 above to create signatures for your other email accounts in the Mail app.
When you finish, you can simply close the Mail Preferences window.
Editing or Deleting Signatures on Mac
If you want to edit or delete a signature down the road, just head back to the Signatures section in your Mail Preferences (Steps 1 and 2). Choose the account and adjust the signature for it as you wish. To delete one, select it and click the minus button at the bottom.
Access the Signature Settings on iOS
Creating email signatures for the Mail app on your iPhone or iPad is just as easy; follow the steps below.

Open your Settings app and select Mail.
Towards the bottom of the Mail app screen, tap Signature.
All accounts that you have set up in the Mail app on your device will be listed. By default, you probably see “Sent from my iPhone” for those without signatures.
Tap inside the box for the account where you want to create the signature and your keyboard should appear.
Type your signature and then do the same for your other accounts as well.
When you finish, you can go back by tapping the arrow on the top left or simply close the Settings app.

Just like with the Mail app on Mac, whenever you compose, reply to, or forward an email from your iOS device, your signature will pop right in.
Editing or Deleting Signatures on iOS
If you want to edit or delete a signature later, go back to the Signature section of the Mail app (Steps 1 and 2). Select the account and either edit the signature or just remove it completely.
Conclusion
Using an email signature saves you from having to type your closing, name, and contact information with every message you send. And, with unique signatures per email account that automatically pop into your messages, you never have to remember to pick one.
Sponsor ads:
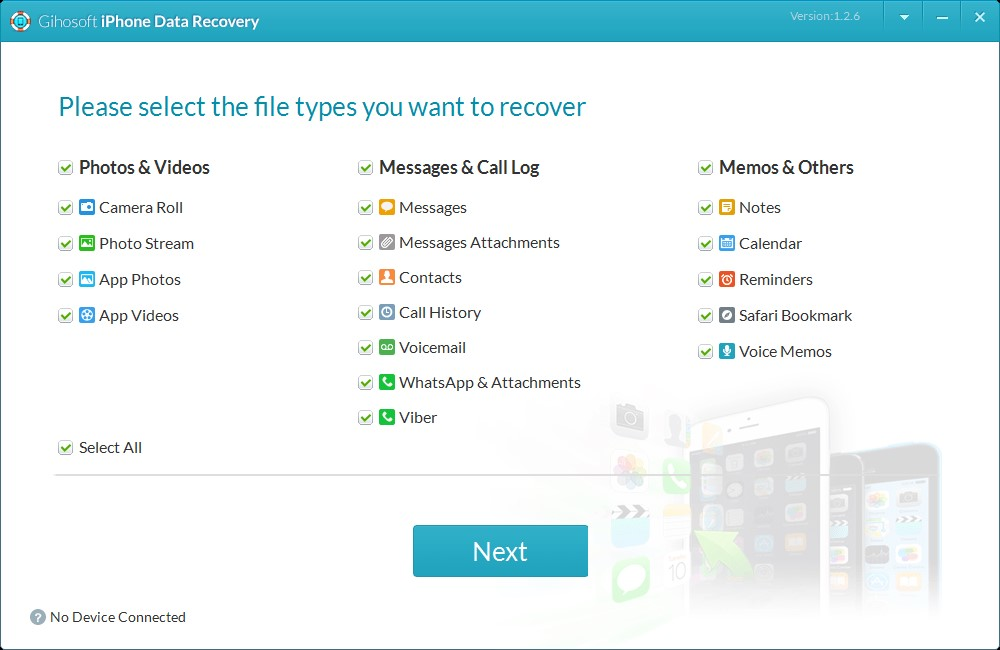
Gihosoft Free iPhone Data Recovery:https://www.gihosoft.com/iphone-data-recovery-free.html
Gihosoft iPhone Data Recovery Free
Free iPhone Data Recovery Software for Windows/Mac
Recover up to 12+ types of files, including contacts, SMS, photos, WhatsApp, Viber, notes, etc.
Restore lost data from iOS devices directly or from iTunes and iCloud backup
Recover iPhone data lost due to iOS upgrade/jailbreak, accidental deletion, device lost or broken
Support all the latest iPhone, iPad and iPod Touch
Both Free and Pro version.
If you lost data after you updated to a new iPhone, you can always use Gihosoft iPhone Data Recovery to get the data back from the old iPhone or backup.You may also like: iphonerecovery.com
If you use android phones, please choose Gihosoft Android Data Recovery.
With Gihosoft Android Data Recovery, no longer afraid of data loss!
jihosoft Free iPhone Data Recovery
Worth reading:Best youtube downloader online download youtube 1080p


No comments:
Post a Comment